


Prepping Traditional Art for Picture Books
How I digitized/photographed my art for print

Although most of the books I have worked on in my career have been painted digitally, my process took a big shift in 2022 and now my past three picture books have been created through traditional/analog media.
I mostly work with a combination of gouache (regular and acrylic), color pencils, POSCA markers, and paper or tissue-paper collage. While creating the work itself has its challenges, digitizing the art for print was an entirely new problem I came across.
Although I have somewhat mastered this skill over the past two years, LOST STICK was my first traditional book, and after I finished the artwork, digitizing it was a huge hurdle.
I had the option of mailing my art to the publisher (specifically to their printers in China) and having them deal with it, but my collage pieces are so fragile and I had no idea how to mail them. I was scared my artwork and all its little paper-cut pieces would arrive unglued, or the art itself lost in transit.
And secondly, sending my pages off to be digitized would cut into my schedule, since I had to allow about a month for shipping/scanning. Traditional media is a lot slower than digital and was something I was still getting used to. I needed all the time I could get to paint, so mailing my art a month early wasn’t an option.
I decided to digitize my art myself.
I did have an Epson V600 scanner at home, but I encountered a separate issue. I had spent SO much time doing all this very delicate paper-cut art, but as soon as I scanned it, all the details were lost.
Because a scanner lights up the art with an even light source, all the shadows disappear and the collage looks flat.
This is perfectly fine for some artists, but for my technique, I wanted to retain the depth I worked so hard to achieve.
When I photographed it with an angled light source, I was able to retain the shadows.
Here is a closer comparison of what the art looks like when scanned, vs photographed. You can see the collage looks much flatter and loses the 3D illusion.

Although I have a fancy little camera, I knew I was way out of my depths. For the interiors, I hired a professional local photographer I sourced online.
Unfortunately, she had a difficult time capturing the art to my requirements since her specialty was more in line with 3D art and product photography. We had a lot of back and forth to get the exact look I wanted to achieve.
After she sent over her photographs, I ended up doing a lot of splicing between her photos, and my home scans.
So as an example, this was a page done by my photographer:
One that I scanned:
And my final page below! It will be hard to tell, but it is a patchwork of elements from the above two images, plus all my digital edits and finishing touches.

By the way, if you guys are interested in my editing process and how much ‘botox’ I add to my traditional work afterward, let me know in the comments!
This process worked well enough for the interiors but ended up being a lot of extra work on my end. So for the cover, I decided to try to photograph it myself.
First, I watched as many YouTube videos as I could to prepare myself and figure out the right settings.
I waited for a sunny day, which took a week because it was the dead of winter. Maybe I could have bought a softbox so I could control my lighting, but I’m not about to spend more money when the good ol’ Sun exists.
Then taped up my artwork on my drafting table to keep it upright (more upright than the photos below).
Using my Sony A6400 on a tripod, I took several shots of the cover. I took a few photos of the whole cover, and several closeups so I had the option to stitch them together.


Then I brought the photos into Photoshop, selected my best images, and stitched them together the best that I could. I resized, warped, and arranged my art to fit my jacket template. And lastly, I fixed up the lighting as much as I could.
At this point, I realized that I didn’t paint nearly enough bleed, so I used Photoshop’s content awareness tool to expand the pink bushes on the bottom. They look a mess, but most of it will be trimmed off during the printing process.

I then moved my art file onto Procreate to do my final touch-ups. This includes:
Removing any shadows/uneven lighting, dust motes, and cat hair
Filling in areas that were left blank from the art stitching
Adjusting color/levels
Recoloring entire areas to make the colors more cohesive
Adding details, patterns and line art
Changing the background color of the back cover
Emphasizing collage shadows, or even creating fake depth for certain elements
Although I feel like my traditional art skills have been getting better, I still have a tough time with finer details because of my shaky hands, so small lines and especially faces are tough for me. Because of this, sometimes characters in my books will have complete facelifts during the editing process.


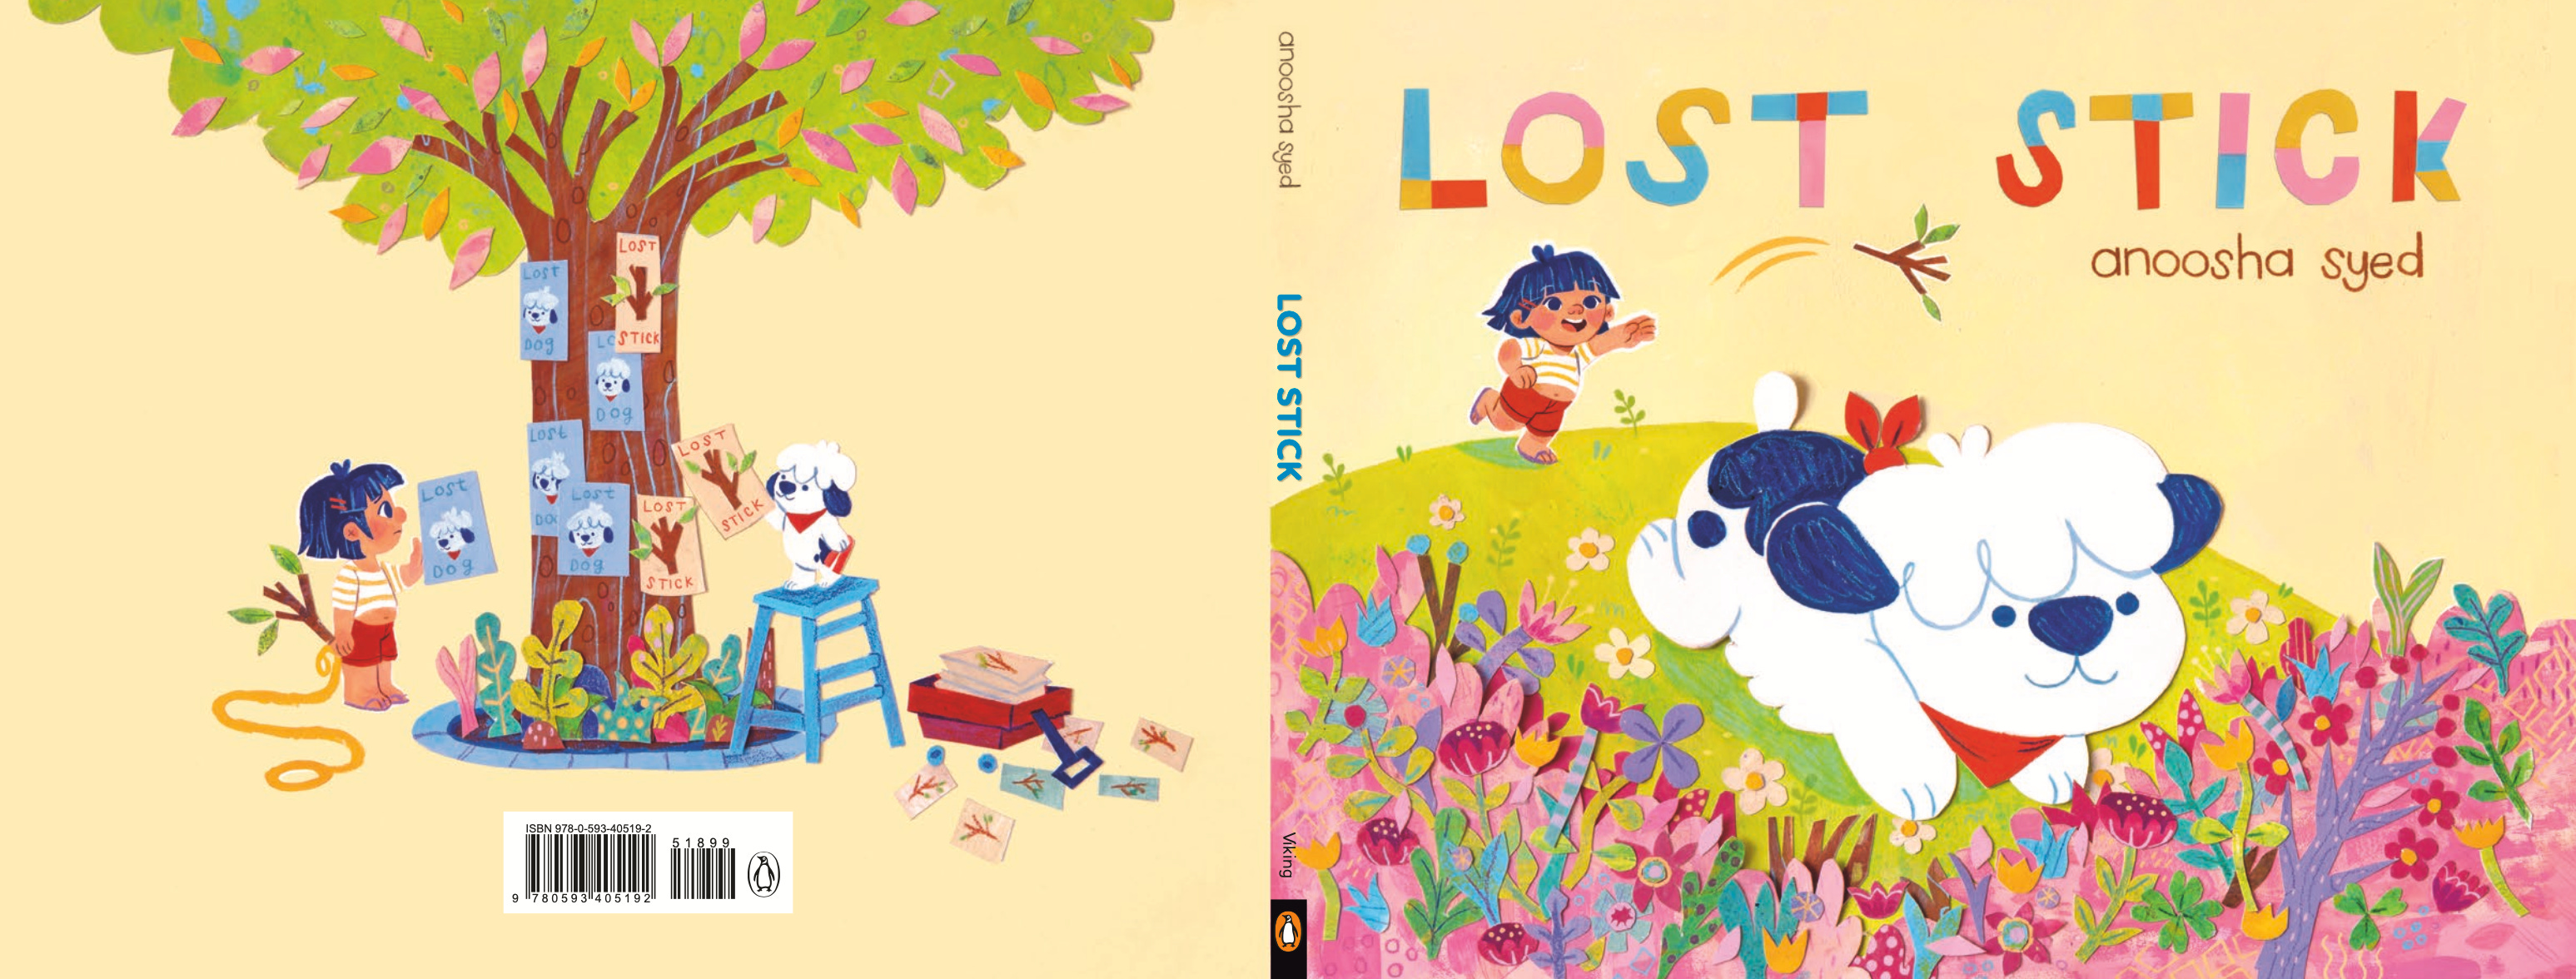
Above is the edited cover that I sent to my publisher!
Thankfully there weren’t any notes, but my team decided that I should use the title design I created for my case cover, so I swapped that out in the final.
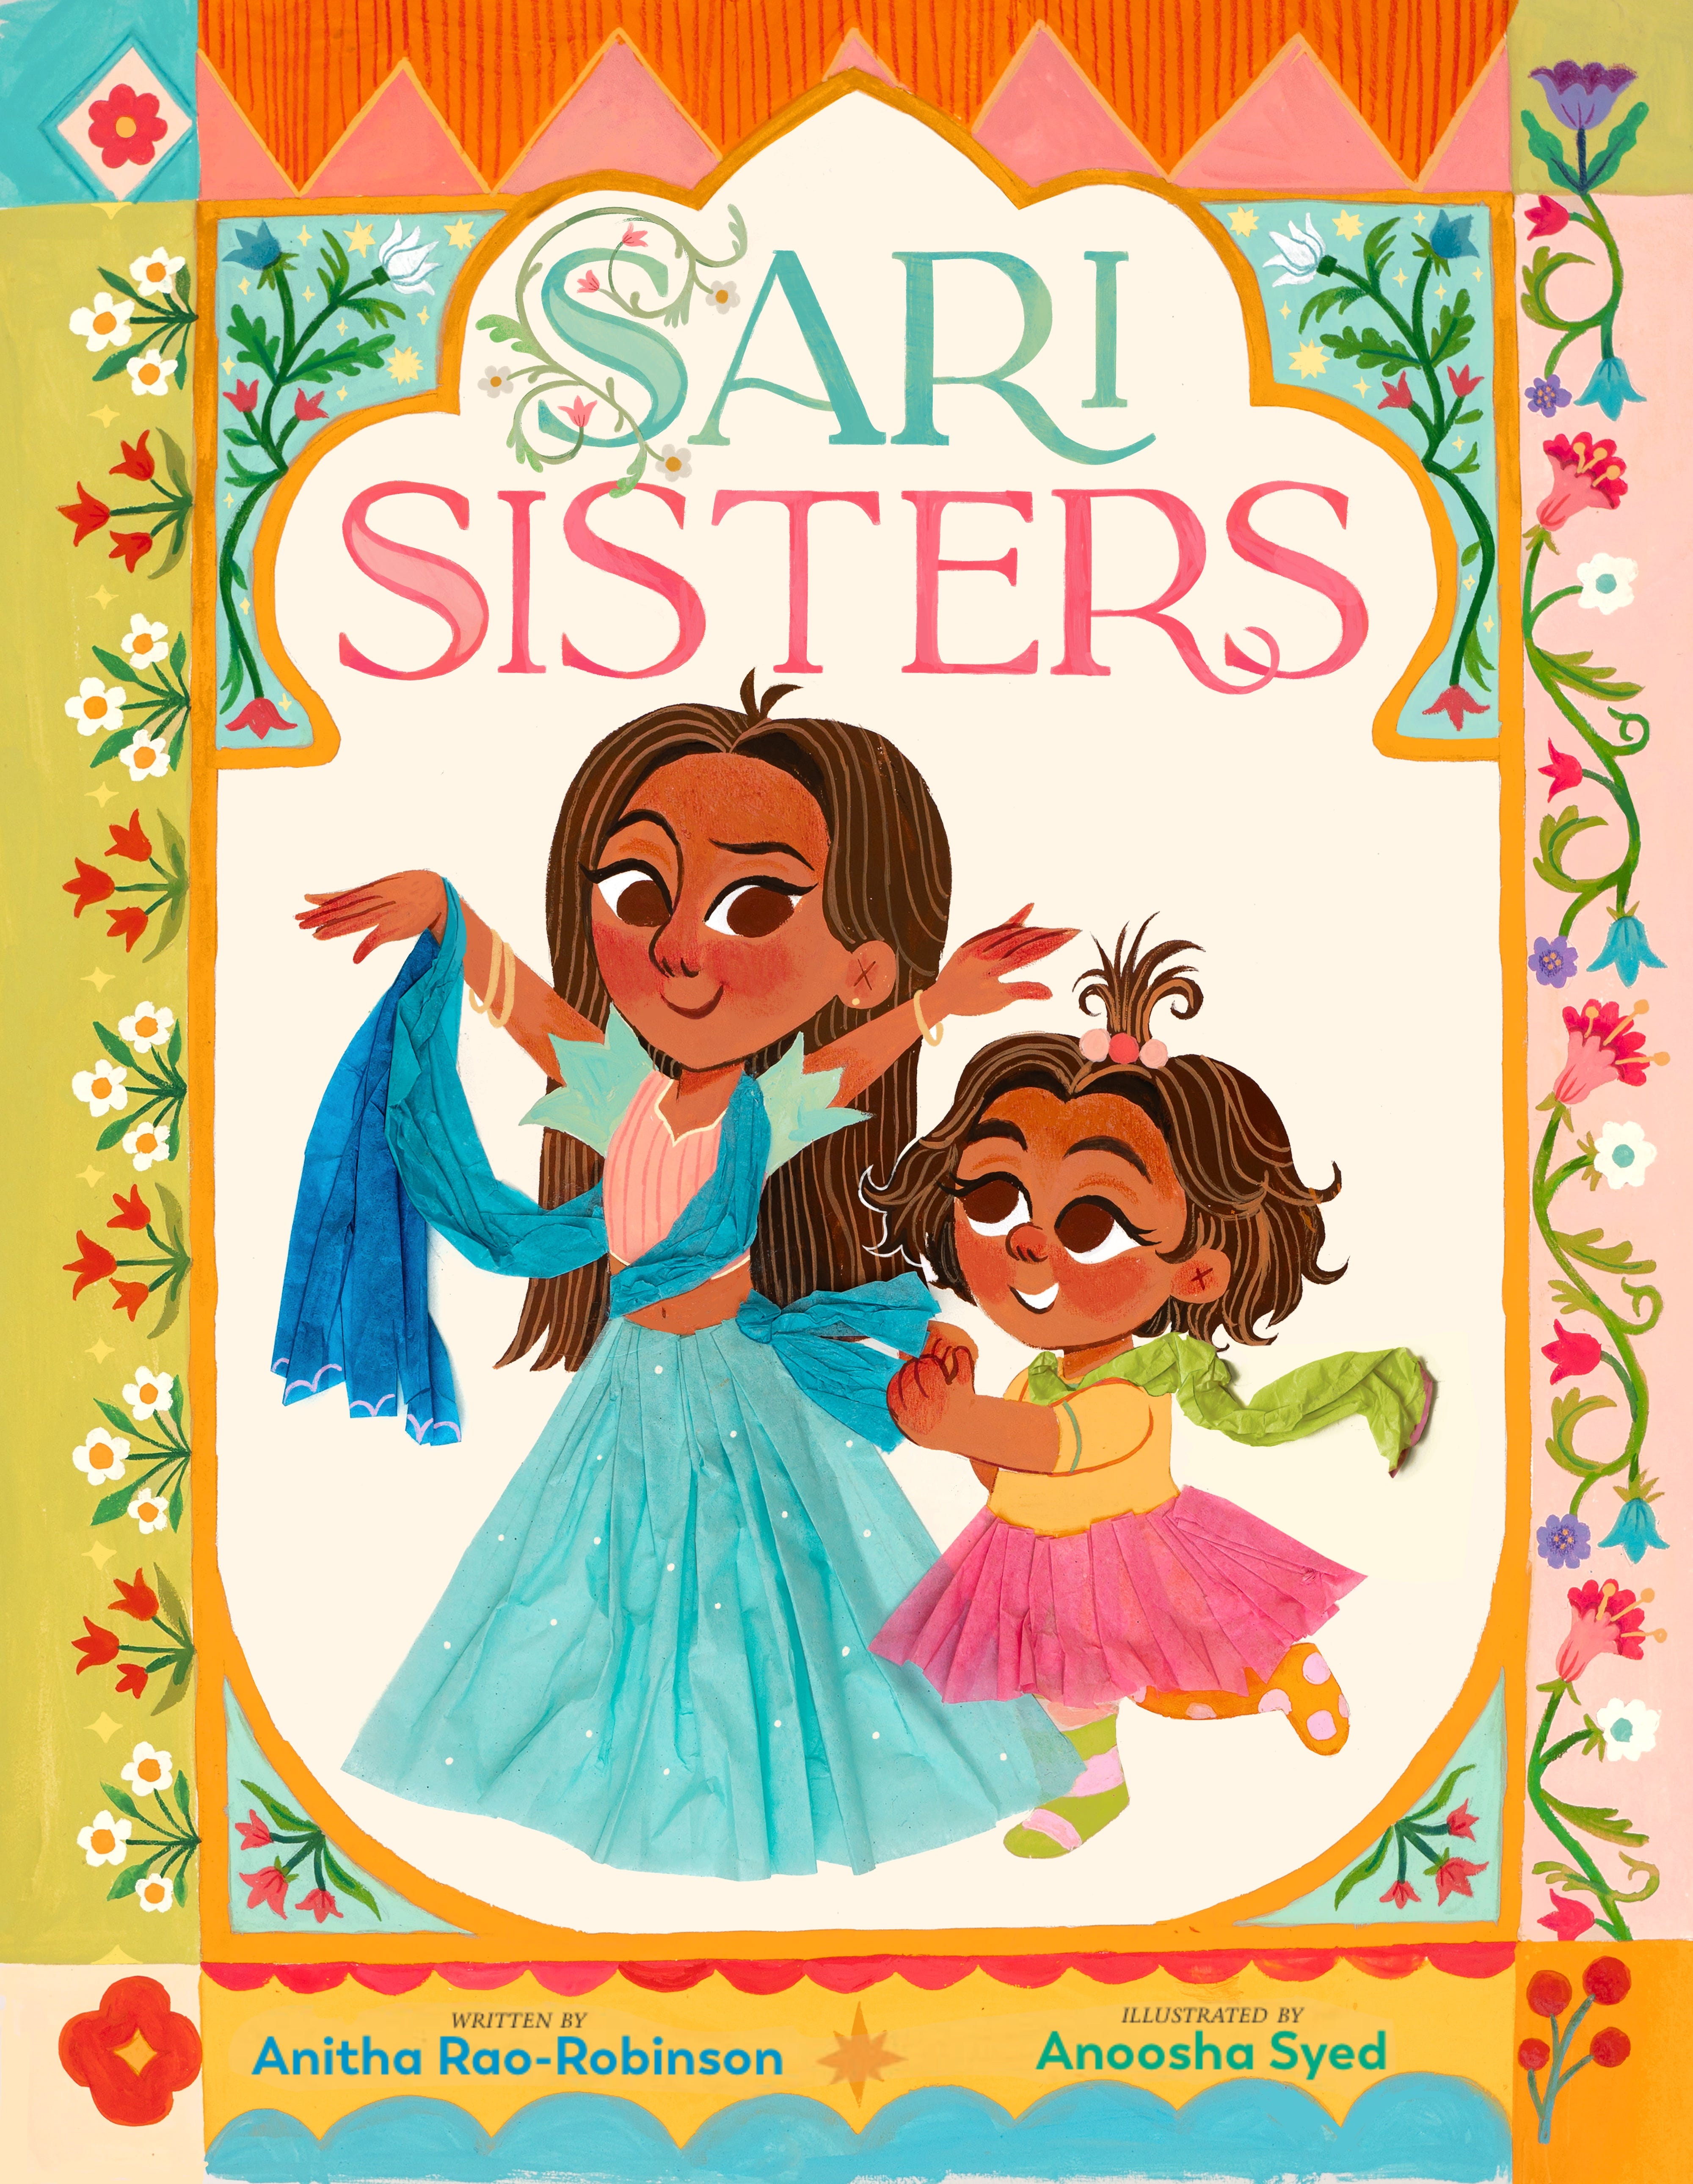
After Lost Stick, my two subsequent picture books (Sari Sisters and The Salt Princess) have also been traditionally painted, and both I digitized myself.
For Sari Sisters, I photographed everything with the same technique I did for the cover. Because I used tissue-paper collage, I needed to use photography again to retain the 3D illusion.
For Salt Princess, which is entirely painted with gouache, I decided to use my scanner. I did have the option to send it to the publisher for scanning, but again, I needed the extra time to paint my pages.
In both books, I have been very happy with my digitization skills. While I’m during that the professional scanners might be better equipped to get the job done, I love how much control I have when working with my art.

Little Updates
In case you missed it, I have a new YouTube video out now where I talk about my whole process when creating the cover for this picture book. Watch it here! Or not, I’m not your mom!
As a reminder, Lost Stick comes out this month. If you pre-order from BuyOlympia, you will also receive a free art print!

If you are in the Toronto area, I am hosting a book launch party at the amazing Type Books in the Junction on March 24. I’ll be doing a reading, some drawing, and showing off my original pieces. Come by so I don’t feel like a loser!
Let me know if you guys have any questions about this process!
BYE
Great post!!
Wow! Amazing to see your entire process!! I'm on my final year of the Pathways into Children's Publishing and on this Year-Long Picture Book project I have decided to do illustrate it traditionally. I would like to know how you edited Cover in Procreate? It seems we can't have more layers if we put the canvas size very large with 300DPI. Would it be possible for you to show some time-lapse video for the same? and what was the colour profile setup? Thanks a lot.